


But I thought it would be neat to make a big one. So first I started with the general shape I wanted. This Dragon was going to be framed so I was just sculpting the head and neck.

After pressing in his glass eyes I sculpted the details on the face. With a sharp clay tool I etch each scale into the soft polymer clay. His teeth were sculpted using transparent polymer clay so his toothy grin would look more realistic.


After adding his chest plates, a plate at a time, I then add his scales, placing each one by one. Making sure not to forget to add the scales in the frame background to give the appearance that he is coming out of the frame. The process took a while.

Once each scale was in it's place I was able to attach his large horns. And then he was ready to be baked. Usually with my larger pieces I bake them in sections but I was able to heat this guy all at once.


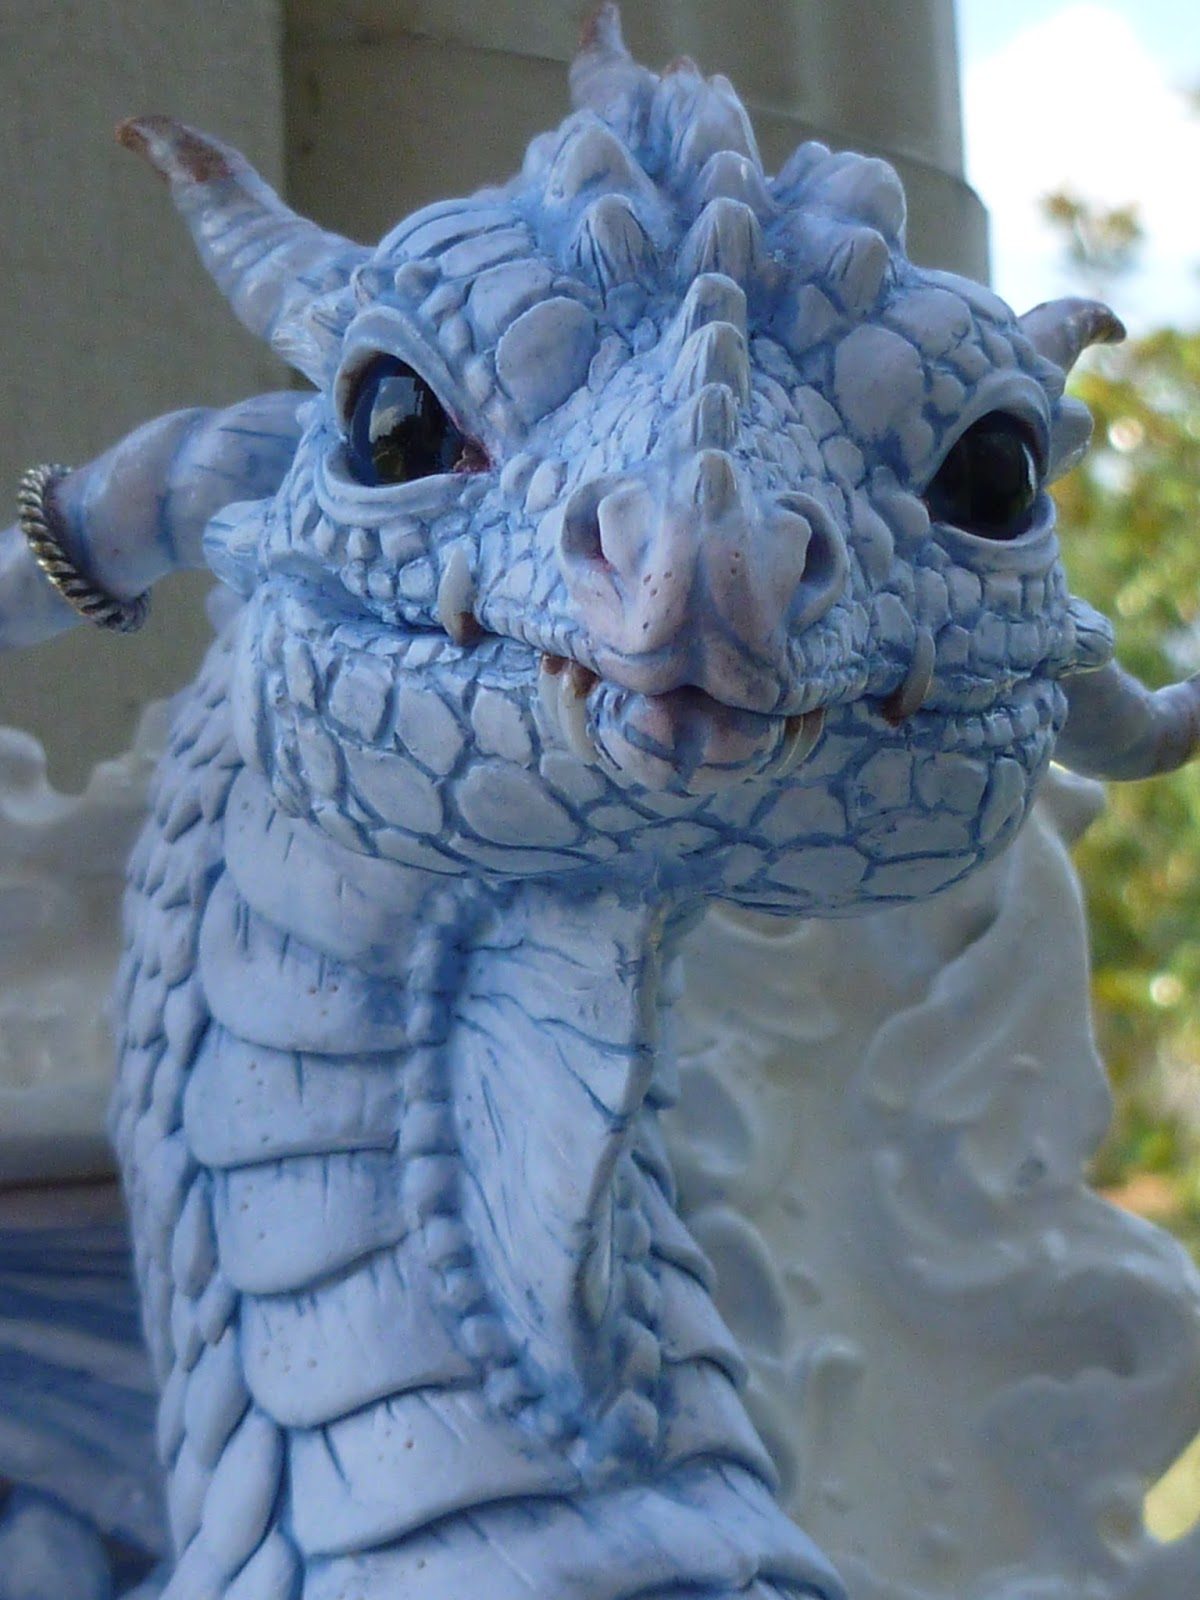

This Dragon was such an awesome experience. I was able to stretch my creative muscle and try out techniques that I haven't been able to try on my smaller pieces. This piece took me over 30 hours and approximately 7 ounces of polymer clay to complete. He stands around 8 inches tall and is probably my favorite of my sculptures right now. :)
This dragon will be displayed in my Gallery at the Dragon Con Art show in September for those of you that would like to see him in person.
I hope you all enjoyed my Step by Step process.
Thanks for reading!
~Caralyn
No comments:
Post a Comment