In this Blog I will walk you though my process of my latest Dragon Con Art show Gallery piece, Robin's Egg Framed Sculpture.
For those of you that read my blog regularly you may notice that my process changes slightly with each piece, well that is because there are so many different ways to get to the piece that you want, why use just one? LOL But for those of you looking to perfect your own technique I hope each of my blogs can help you find your own process.
With this piece I start off by forming a craft wire skeleton for my sculpture. Then I start sculpting the polymer clay torso from the shoulders to the knees around the wire. I prefer Premo Sculpey brand Polymer clay for my pieces.
As soon as I have it the way I want, I bake that part. I have to know what position I want my piece in ahead of time because once I bake that section, I can't change it.
Then I sculpt the upper arms and fill out the torso and bake again.
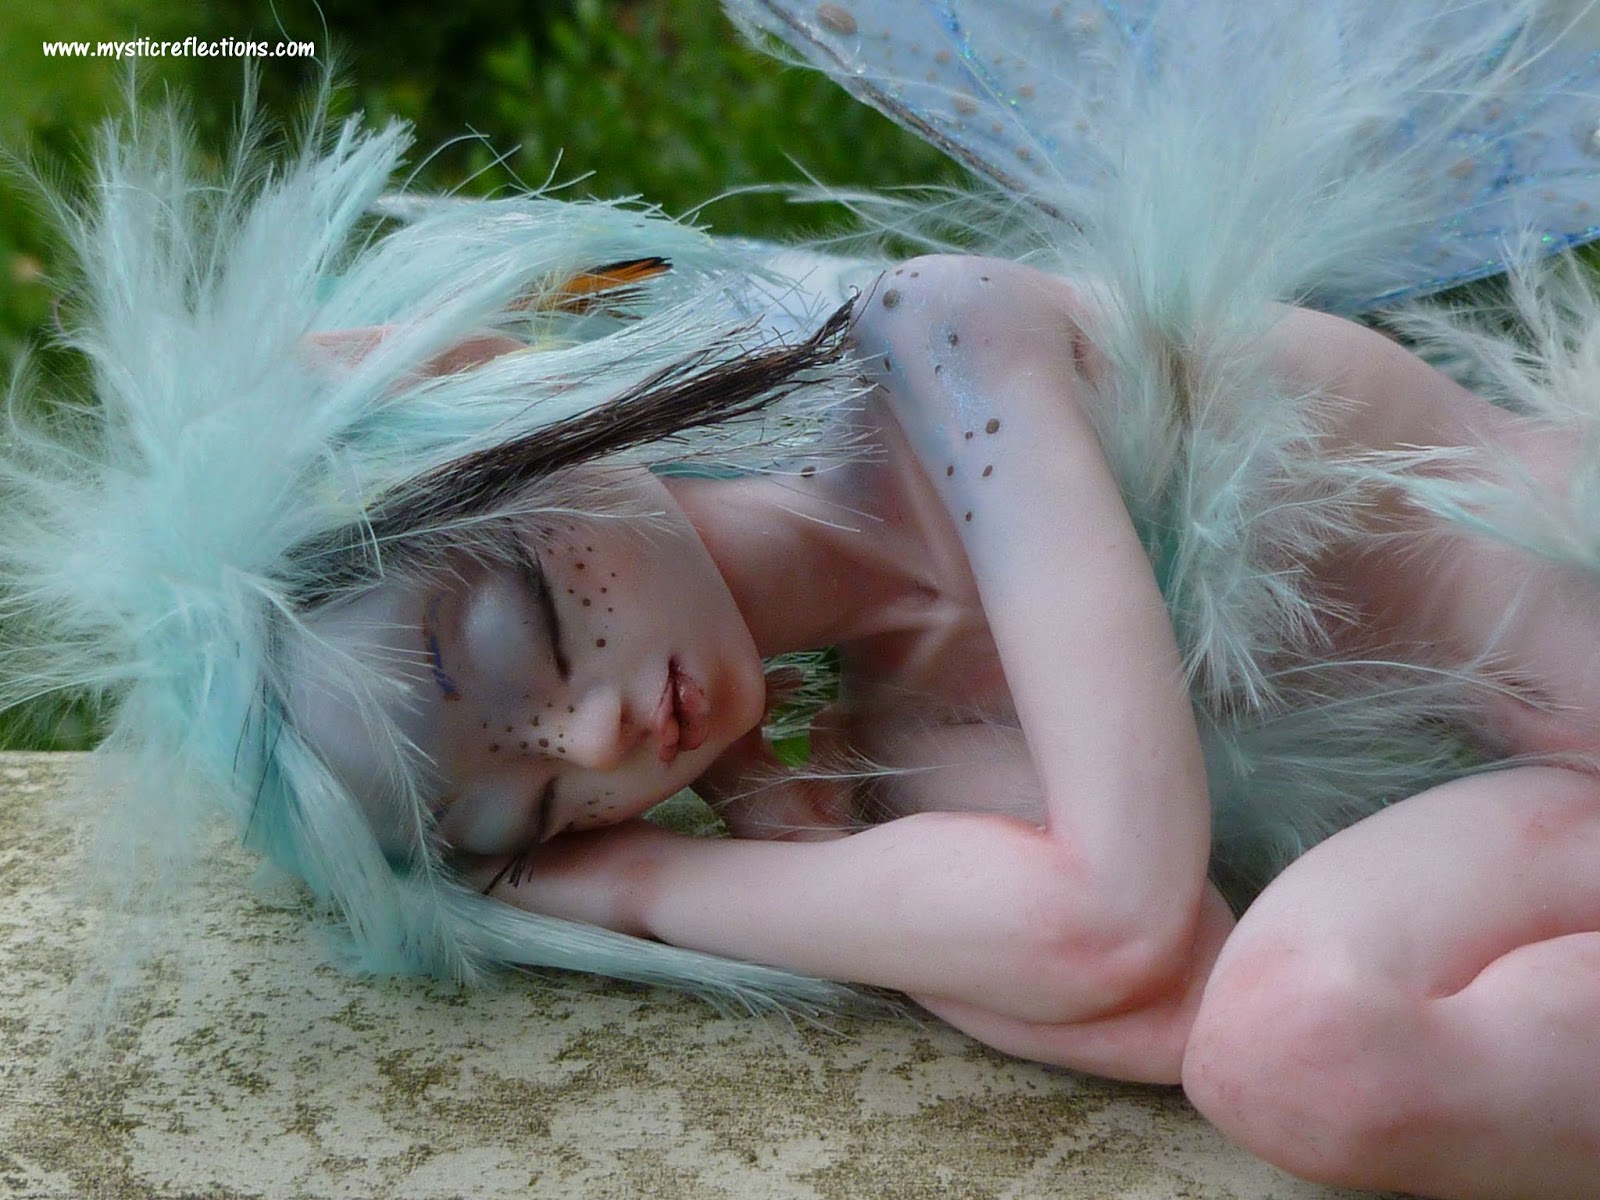
I usually sculpt the head and face next. The face is usually the most difficult part because you want to get it just right so the personality of your creation shows through. Eyes are first and then the nose and mouth. This fairy was going to be sleeping so her eyes are closed. :)
Then I attached the head to the wire frame. On this one I moved on to her feet and hands next. Here is a
blog where I explain my foot and hand making process. But also here's a little collage to show you the angles of this fairy's foot.
 |
Funny tidbit, I posted this photo on my social media sites
and some people thought it was a real foot, not a polymer clay one.
I took it as a compliment. |
I attach her legs and hands, smoothing out the creases in the joints. You want the elbows and knees to look right or it will effect the realism of the legs and arms.
I add her arms and sculpt her neck last and now my piece is completely sculpted. Bake and she is ready for the next step.
Time to paint the details to my little fairy. Since she is a Robin's Egg fairy, I thought it would be nice to give her some hints of blue to her skin and small brown speckles.
And whats a fairy without her wings?
Over the years I have used many different methods and many different materials to make wings but I tried out a new technique that is by far my favorite. I apologize for not having many photos to help with this process but I will try and explain it in detail. I started with drawing the wing outline on a piece of clear plastic. Then I trace the outline with fabric glue, use any color you like. Add color to your wings by painting or brushing them with shimmery powder. Then each section of the wing is filled with Mod podge (you can find this at any art supply store).Repeat this process on both sides. Then cut the wing pieces out.
 |
This wing is not the wing I used on this particular sculpture,
just using it for reference. |
I then glue craft wire to the ends to make it easier to attach the wings to the sculpture. I curled the ends of the wire just because I think it is more aesthetically pleasing. :) Feathers added to the base is the finishing touch.
Now she is ready for some clothes and fun hair. For her outfit I used small strips of feathers to fashion a small shirt and skirt. Some blue and brown doll hair, combined with a few more feathers, (she is a "Robin's Egg Fairy" after all) and her look is complete.
Now that our little fairy is done, she needs some where cozy to rest her head. How about a nest that you can hang on your wall? YES? Okay. :D
By sculpting polymer clay tightly over craft wire, inside the hand painted circle frame, I was able to make tiny twigs to tangle together. Weaving the long coils of clay around each other gave the look of a bird's nest. Moss and some leaves finishes the look.
Can't forget the tiny eggs, just rolled up blue clay and speckled with brown paint.
Now attach your fairy to her nest. Doesn't she look so cozy all curled up with the little eggs?
Thank you for reading, I hope you enjoyed watching my Robin's Egg Fairy come to life.
~Caralyn


