Come enjoy my world of Fantasy and Steampunk creations.

Mystic Reflections' Creations

Mystic Reflections' Creations

Caralyn's Events and Appearances

  • Aug. 30th - Sep. 3rd - DragonCon: Atlanta GA
  • Feb. 23rd-24th 2018 - ConNooga, Chattanooga TN
  • Nov. 17th-19th 2017 - Atlanta Steampunk Exposition: Atlanta GA
  • Nov. 11th - 12th 2017 - Christmas at Lithia Springs High school, Lithia Springs GA
  • Oct. 7th 2017 - RevFest: Rev Coffee Smyrna GA

My Blogs

Let's see what I have been up to. :)

Monday, April 16, 2018

Practice Makes Perfect Artists

Hello Art Fans!
Today I just wanted to encourage everyone to keep trying. Practice always makes perfect. I started sculpting for my art business in 2006. I hadn't discovered Polymer clay yet and I was using an air drying paper clay. (I do not recommend paper clay for delicate sculptures but this material works alot better for very large pieces.)

Here is one of my 1st little fairies I ever created compared to one of my pieces from 2017.
As you can see I hadn't refined much skill yet, I couldn't sculpt fingers or toes on that small scale yet and put very little detail into my pieces.  
It has taken over a decade, alot of patience, practice, trial and error to make the sculptures I make today so don't give up artists. Try try again. :)

That is my inspirational speech for the day, Thank you

Here is another blog I did for my "Then and Now" steampunk animals.

Thanks for reading!
~Caralyn

Tuesday, April 10, 2018

Look and See Her, How She Sparkles!

Getting started on my larger sculpture inventory. I have a big sci-fi/fantasy convention coming up in the beginning of September that I vend at every year. Some of you probably already know about Dragon Con. It is my largest show each year and I need plenty of merchandise for it. So I am working on my pieces for the gallery in the Dragon Con Art Show.
I like to start with an uncomplicated sculpture to help motivate and loosen up my creative muscles. I usually begin with a fairy or fae creature and I try to keep the details to a minimum, no complex outfits, accessories or appendages.
I like to start with the face/head of my sculptures. The face is the most important part of the sculpture, in my opinion. The face can determine the attitude for the entire piece.
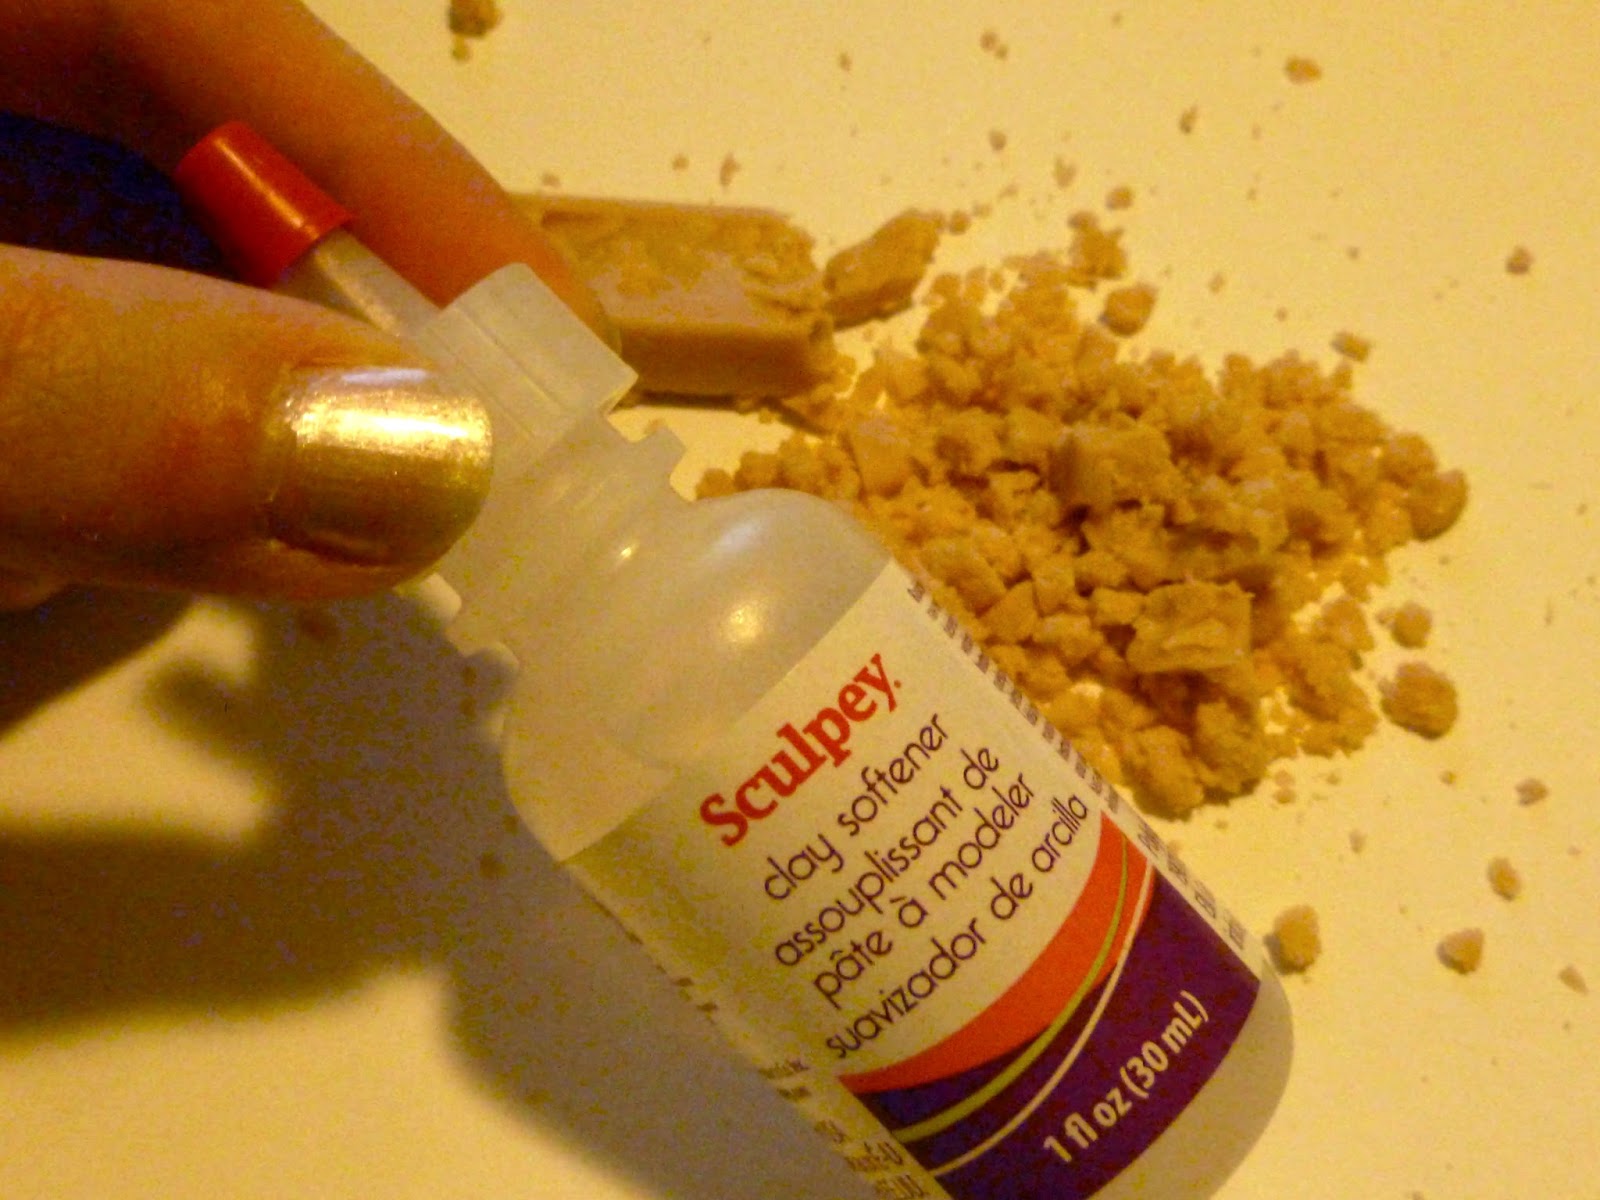
First you roll the polymer clay into a ball and form the ball into a head shape.
Then eyes are inserted into the clay ball. I like to use glass beads to make the pupils for my eyes. For this sculpture I chose Pink eyes.
Whoa man, what was in that drink? LOL 
Next I form the eye lids and build up the cheeks of my sculpture's face.

A tiny ball of clay is placed in the center of the face, just below the eyes. Then it is formed into a little nose.

Another teeny clay ball is placed below the nose and shaped into a mouth.

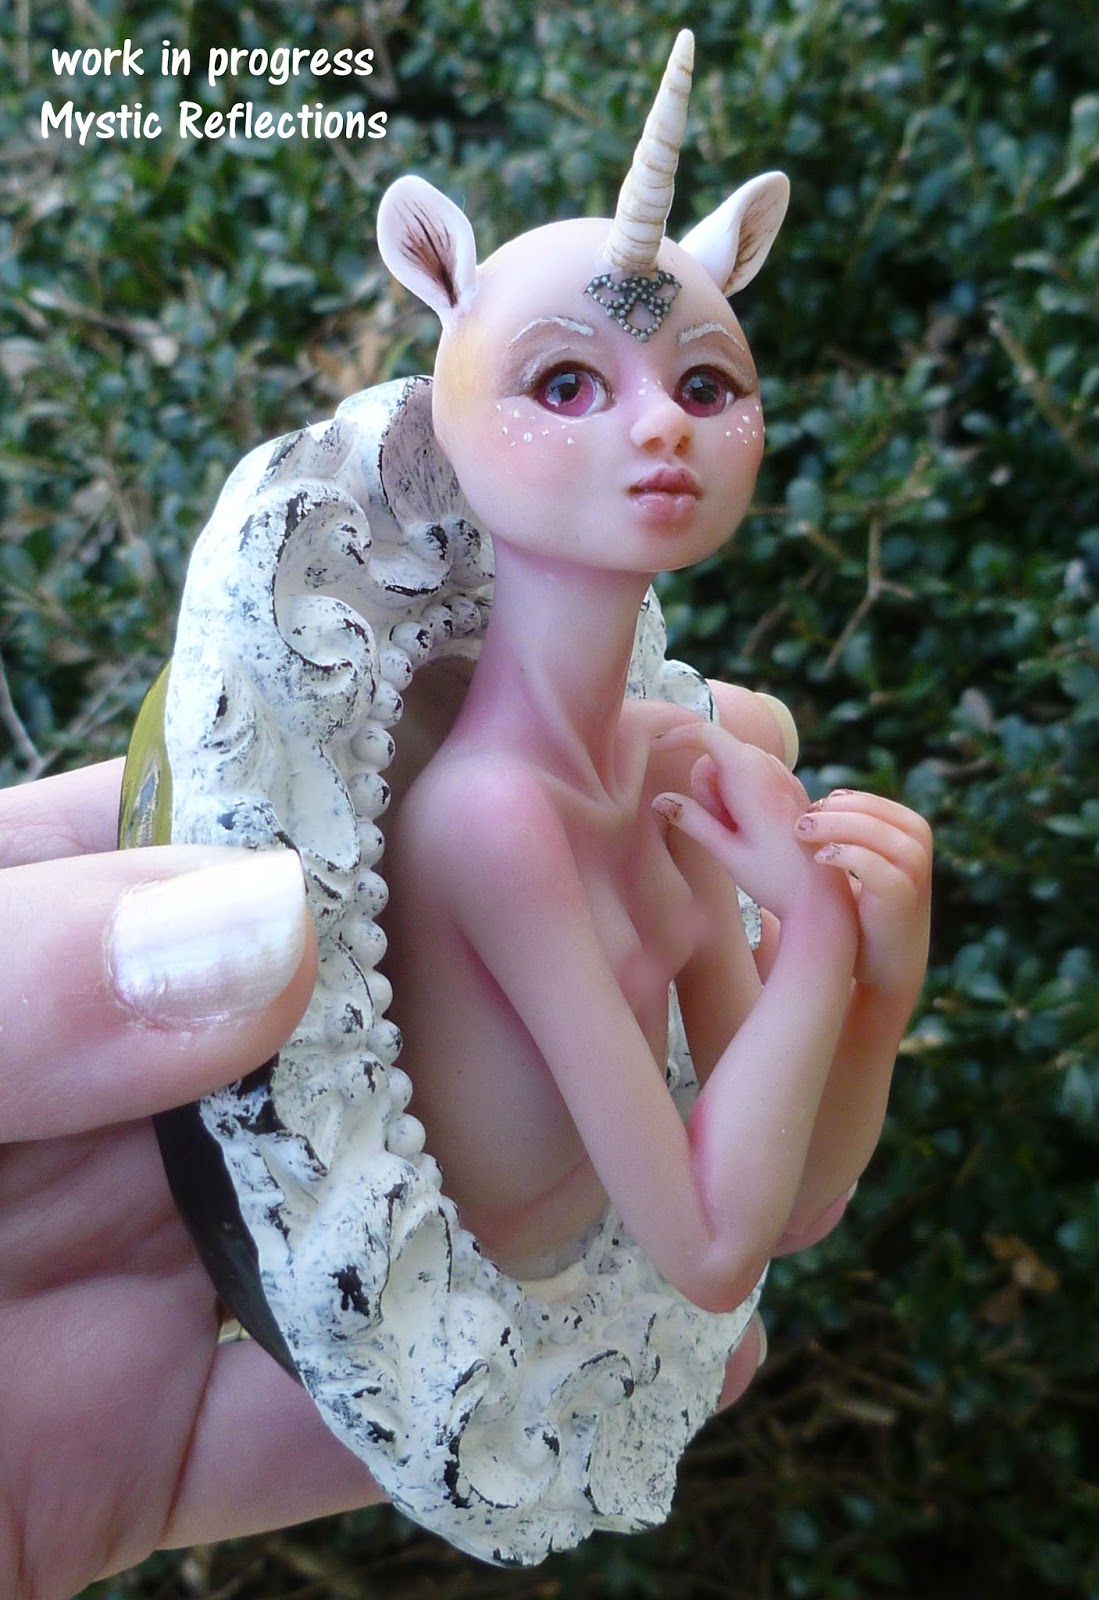
Since this fairy sculpture is going to be a Unicorn Fae(Fairy), I twisted some white clay together to form a fun horn and attached it to her forehead.

And an oval of clay pinched in the middle makes some nice horse ears to finish the look.

Now to work on her body. This piece will be attached to a frame so I only need to sculpt half a torso.
I start with a rounded rectangle and smooth out two tear drop shapes on the chest and a triangle just below, around a wire frame.

I work on the upper arms and shoulders next.

Why Hello there good lookin.


Let's make some arms and hands now. Start with a clay rod and form a wrist.
Cut the fingers into the tip and smooth them out, making sure to cut them to the right length.


Even though her hands will be folded together, I still always sculpt the underside of the hands.
Bend the fingers into the position you desire and attach them and the arms to the torso.
Her hands and neck are the last to be sculpted and then she is baked for half the allotted time.

Attach her to the the frame and bake again. Since Polymer clay cooks at such a low temperature, I have never had issues with my frames burning.
Once she is baked, small details are painted on. I like to brush pastels on for the pink hues in her skin and I use acrylics for the tiny details.


Now this little bald beauty needs some hair.
I separate doll hair into small batches and glue each patch into place on her head. And now she is complete!
Unicorn Fae framed Sculpture. 


I hope you enjoyed this Step-by-Step blog. Here is another post you might like.
Don't Fawn Over Her too much.
Thanks for reading,
~Caralyn

Tuesday, April 3, 2018

Dry Clay Problems?

Any artist that has worked with Polymer clay, or any clay for that matter, has run into the dry clay issue. It happens just so; you sit down to sculpt a nice piece, open up a fresh new brick of clay and start rolling it between your fingers. But unlike normal, this particular clay doesn't roll into a nice ball as you intended, instead it crumbles in your hands like week old toast.
Who's gonna clean this up?
This will not do at all. Now usually I will spend several hours kneading the clay until it is more pliable and I can finally make something with it; although that usually is followed by blistered palms and sore digits. But I finally met my match, a clay that was just too dry to knead at all. I LOVE Premo Sculpey brand, I pretty much only use it but this one brick was not making it easy on me.
This one here was the week old toast kind!
I have never used clay softener before so I was pretty skeptical about giving it a try but it was either that or toss this batch of clay out and open a new brick, NAY I SAY! THIS CLAY SHALL NOT BE DISCARDED!!! I may have not been quite so dramatic about it...okay I totally was. :P  
I was able to find this clay softener at Michael's Art Supply Store. Sculpey Clay softener.
Oh yeah, that's the good stuff.
I am totally hooked now, it worked like a charm. Just a few drops of this stuff, a few minutes of kneading and molding and Voila, clay just like new. It is a bit greasy at first, it needs to be to soften the clay but after just a few moments of rolling the clay in your hands and it is soaked in.
This brand worked just great for me so I have not tried any other brands but it wasn't too expensive either so I will most likely keep this little miracle worker on hand from now on.
Can't make cuties like this little guy using dray clay. :)
I just wanted to share my little find with you all, I hope this blog can help others dealing with dry clay. Don't throw it out, work it out. :)
Thanks for reading!
~Caralyn