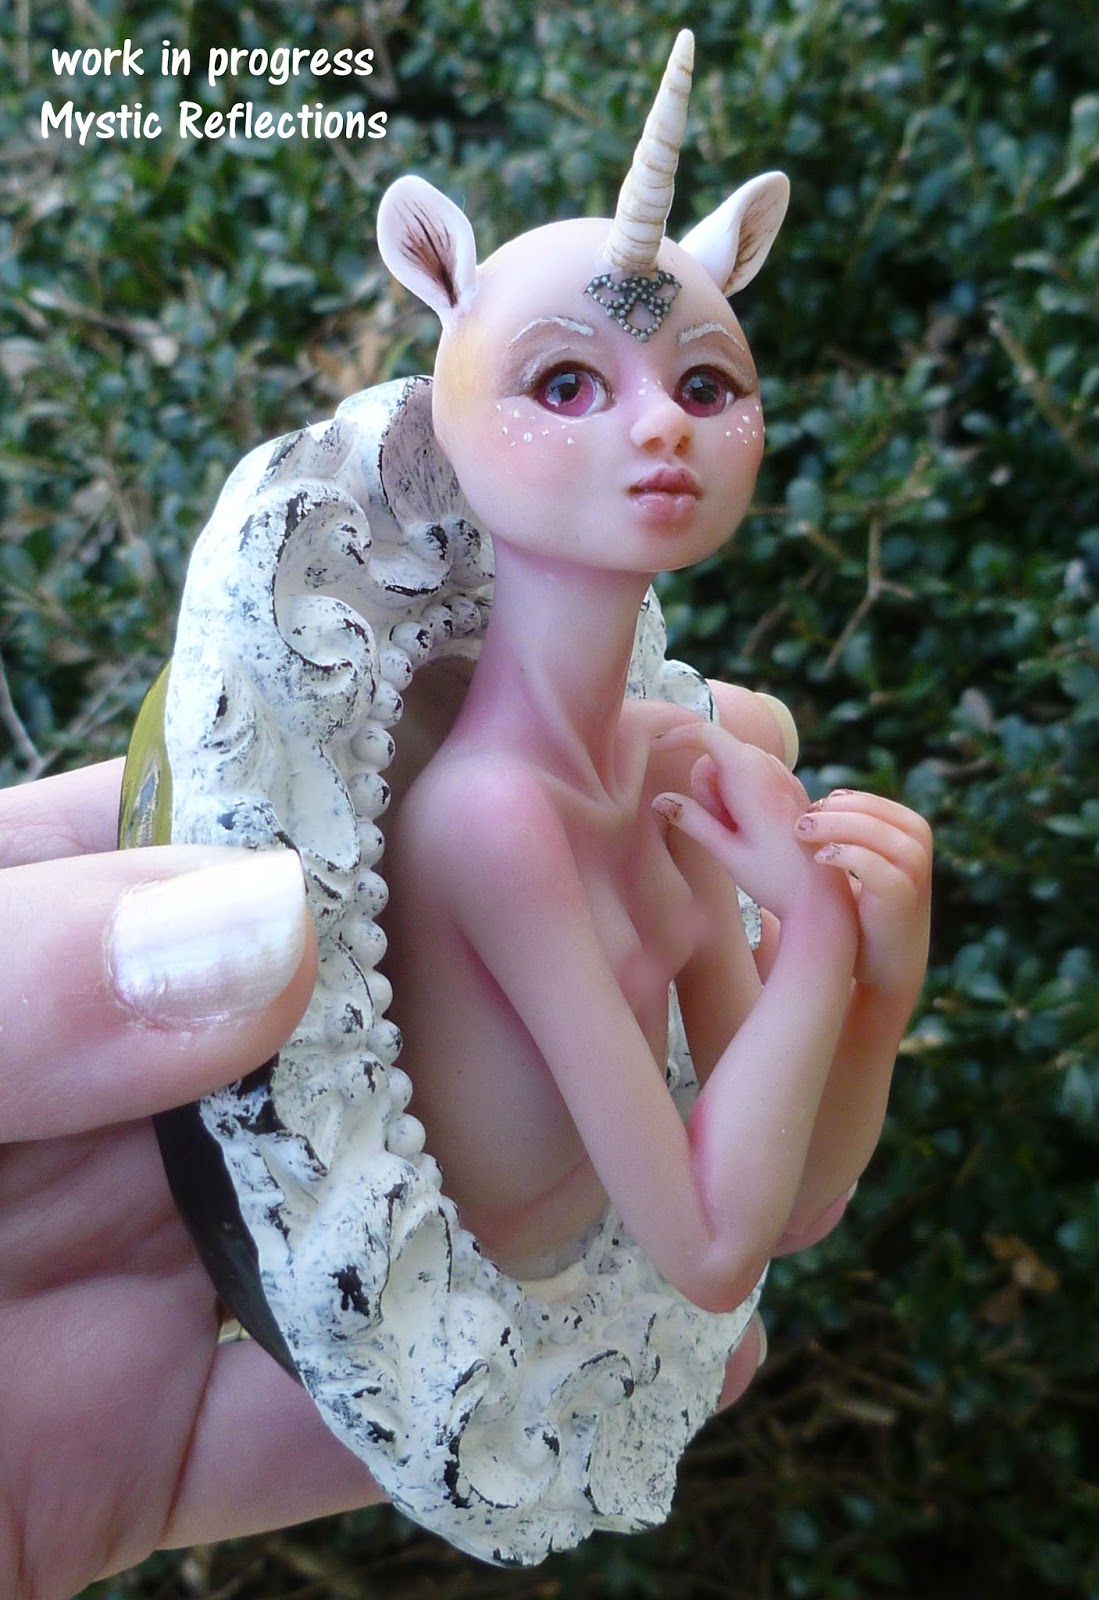
Getting started on my larger sculpture inventory. I have a big sci-fi/fantasy convention coming up in the beginning of September that I vend at every year. Some of you probably already know about
Dragon Con. It is my largest show each year and I need plenty of merchandise for it. So I am working on my pieces for the gallery in the Dragon Con Art Show.
I like to start with an uncomplicated sculpture to help motivate and loosen up my creative muscles. I usually begin with a fairy or fae creature and I try to keep the details to a minimum, no complex outfits, accessories or appendages.
I like to start with the face/head of my sculptures. The face is the most important part of the sculpture, in my opinion. The face can determine the attitude for the entire piece.
First you roll the polymer clay into a ball and form the ball into a head shape.
Then eyes are inserted into the clay ball. I like to use glass beads to make the pupils for my eyes. For this sculpture I chose Pink eyes.
 |
| Whoa man, what was in that drink? LOL |
Next I form the eye lids and build up the cheeks of my sculpture's face.
A tiny ball of clay is placed in the center of the face, just below the eyes. Then it is formed into a little nose.
Another teeny clay ball is placed below the nose and shaped into a mouth.
Since this fairy sculpture is going to be a Unicorn Fae(Fairy), I twisted some white clay together to form a fun horn and attached it to her forehead.
And an oval of clay pinched in the middle makes some nice horse ears to finish the look.
Now to work on her body. This piece will be attached to a frame so I only need to sculpt half a torso.
I start with a rounded rectangle and smooth out two tear drop shapes on the chest and a triangle just below, around a wire frame.
I work on the upper arms and shoulders next.
 |
| Why Hello there good lookin. |
Let's make some arms and hands now. Start with a clay rod and form a wrist.
Cut the fingers into the tip and smooth them out, making sure to cut them to the right length.
Even though her hands will be folded together, I still always sculpt the underside of the hands.
Bend the fingers into the position you desire and attach them and the arms to the torso.
Her hands and neck are the last to be sculpted and then she is baked for half the allotted time.
Attach her to the the frame and bake again. Since Polymer clay cooks at such a low temperature, I have never had issues with my frames burning.
Once she is baked, small details are painted on. I like to brush pastels on for the pink hues in her skin and I use acrylics for the tiny details.
Now this little bald beauty needs some hair.
I separate doll hair into small batches and glue each patch into place on her head. And now she is complete!
 |
| Unicorn Fae framed Sculpture. |
I hope you enjoyed this Step-by-Step blog. Here is another post you might like.
Don't Fawn Over Her too much.
Thanks for reading,
~Caralyn